A new plug-in for rigging ropes, cords, antennas...
Download: RopeRig.zip (110 kb)
Download: RopeRig.avi (788 kb)
It is a set of 3 plug-ins:
- RopeRig - Bones - Creates a chain of bones from a base bone
- RopeRig - IKchain - Creates an IK chain from a chain of bones
- RopeRig - Bone Control - Batch bone rotation controller (Key frames, IK chain...)
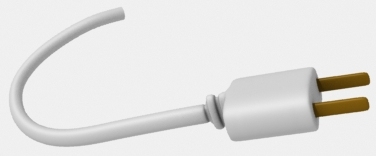
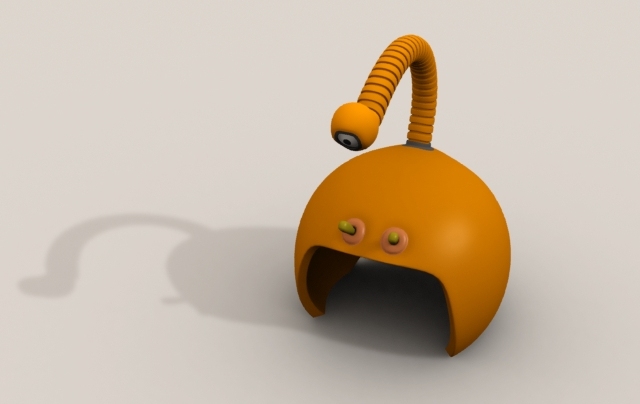
In this tutorial I'll show how to rig two objects: a plug with a cord and a helmet with a neck and an eye.
Click on the images to make them bigger.
Notice:
The word "rope" here refers not only to a rope but to any object such as a cord, flexible tube, antenna...
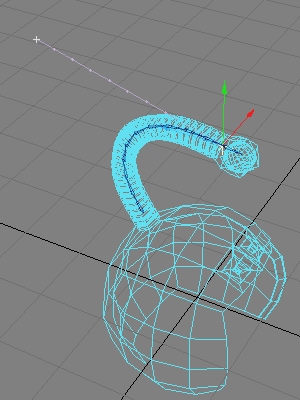
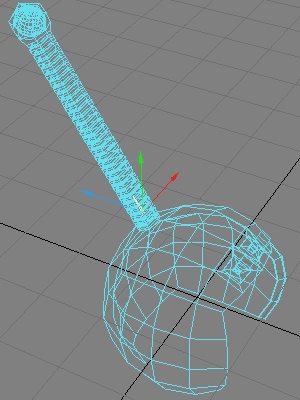 Create only one skelegon in Modeler at the base of the rope and create a weight map for the rope.
Load the object into Layout and convert the skelegons to bones.
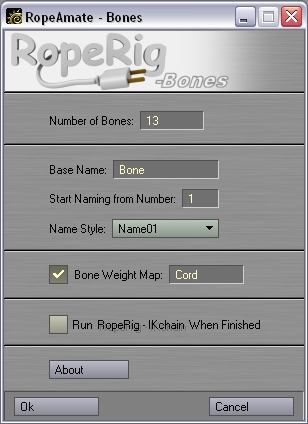
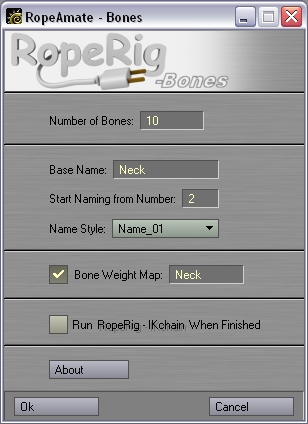 Run the RopeRig - Bones plug-in.
Number of Bones: The number of children bones that will be added to the currently selected bone.
Base Name: The names of the bones will consist of the base name and a number.
Start Naming from Number: The number from which the bones start getting numbered.
Name Style: The style in which the bones will be named (Name01, Name1, Name_01, Name_1).
Bone Weight Map: The weight map that the bones will affect.
Run RopeRig - IKchain When Finished: If this is checked, RopeRig - IKchain will be run automatically after the bones are inserted.
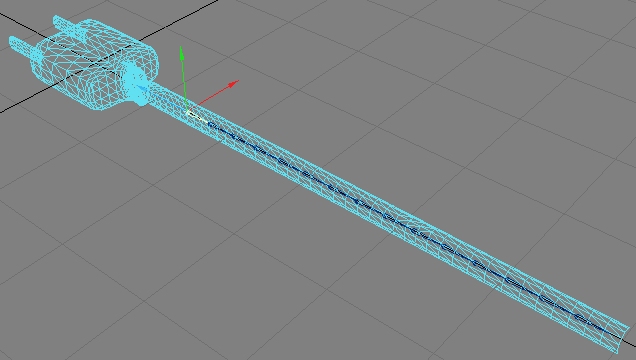
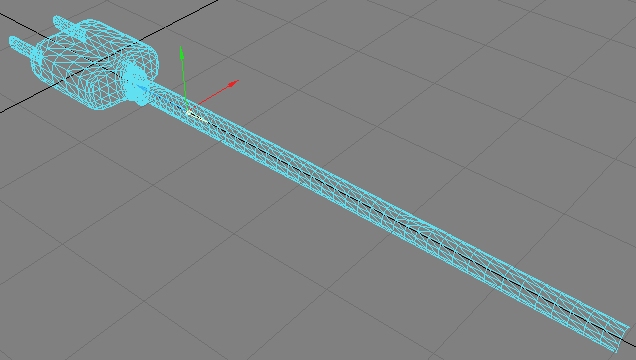
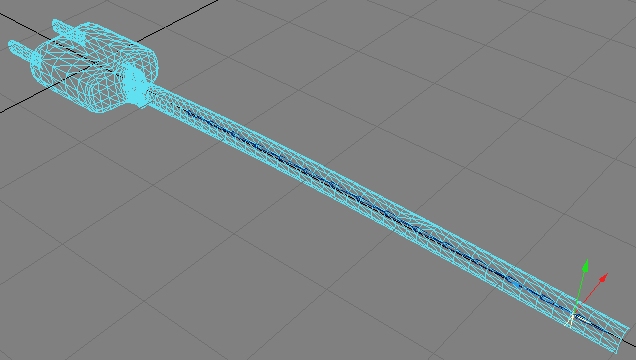
 A string of bones was created in the same direction as the base bone.
You won't see this if you checked "Run RopeRig - IKchain When Finished".
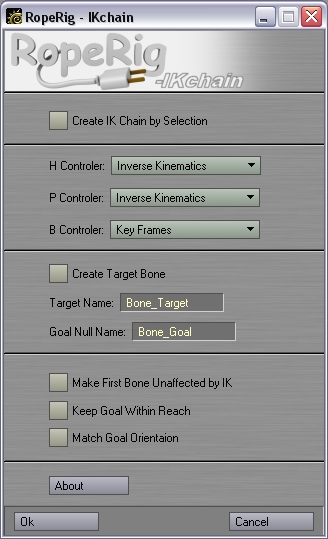
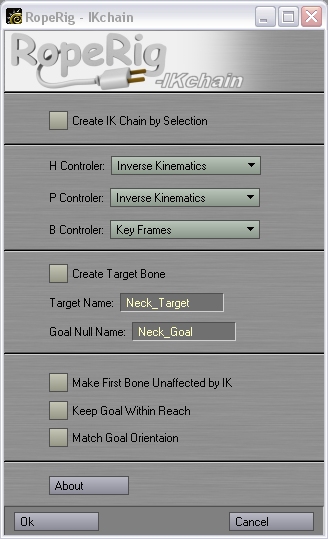 Run the RopeRig - IKchain plug-in.
Create IKchain by selection: You can either create an IKchain by selecting the bones from the last to the first or else by selecting the parent bone. If you want to create the chain by selection make sure this is checked.
H/P/B Controller: Choose the controllers for the H, P and B rotation (Key Frame, Point at Target, Align to Path, IK Chain).
Create Target Bone: This function will create a child bone out of the last bone of the chain, to be used as the goal bone. If this isn't checked the last bone of the chain will be used.
Target Bone Name: If you chose to create a target bone, give it a name here. The default is the name of the base bone with "_Target" added.
Target Null Name: A goal null will be added that controls the whole IK chain. Enter its name here. The default is the name of the base bone with "_Goal" added.
Make First Bone Unaffected by IK: Makes the base Bone unaffected by IK.
Keep Goal Within Reach: Keeps the goal null within the reach of the target bone.
Match Goal Orientation: Makes the target bone match the goals's orientation.
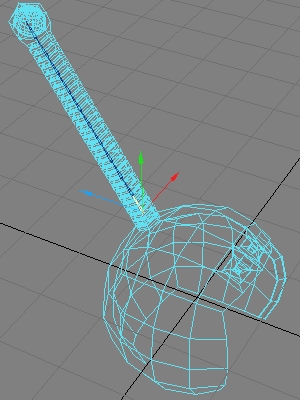
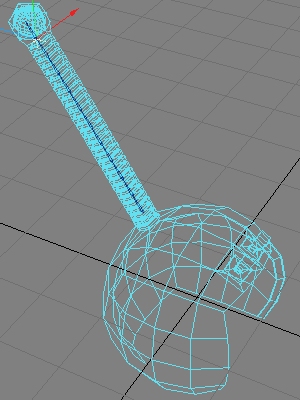 An IK chain was created.
 The goal null that controls the whole chain is selected and placed at the same world position as the target bone.
Select all the bones, use the RR - BoneControl plug-in to set the Heading and Pitch controllers to IK.
Then select each bone you want to have a control before it (one at a time) and run the RR - IKchain plug-in, tick the Create chain by selection, and hit OK.
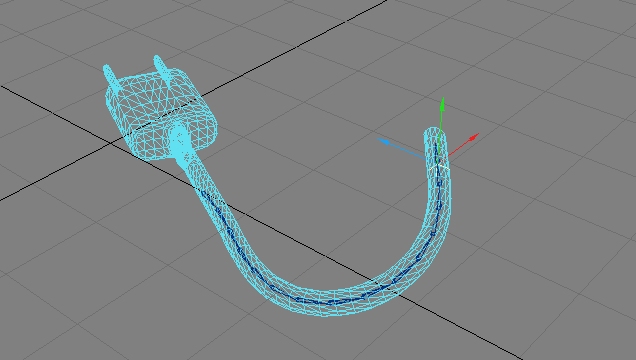
 Move the null and see how it affects the rope.
Tip: You can apply the Auto Tool Change plug-in to the goal null so that every time you select it the current tool becomes the moving tool.
 Move the null and see how it affects the rope.
The lighting in these final images was done using the Light Setup plug-in.
Enjoy!
For more plug-ins by me Click Here.
If you have any questions or suggestions, feel free to contact me: SamuelLK@hotmail.com